I made a trench coat, ya'll!

This is definitely one of my proudest and most challenging makes of 2014 (the top slot, of course, goes to my wedding dress!) so prepare yourself for photo overload.
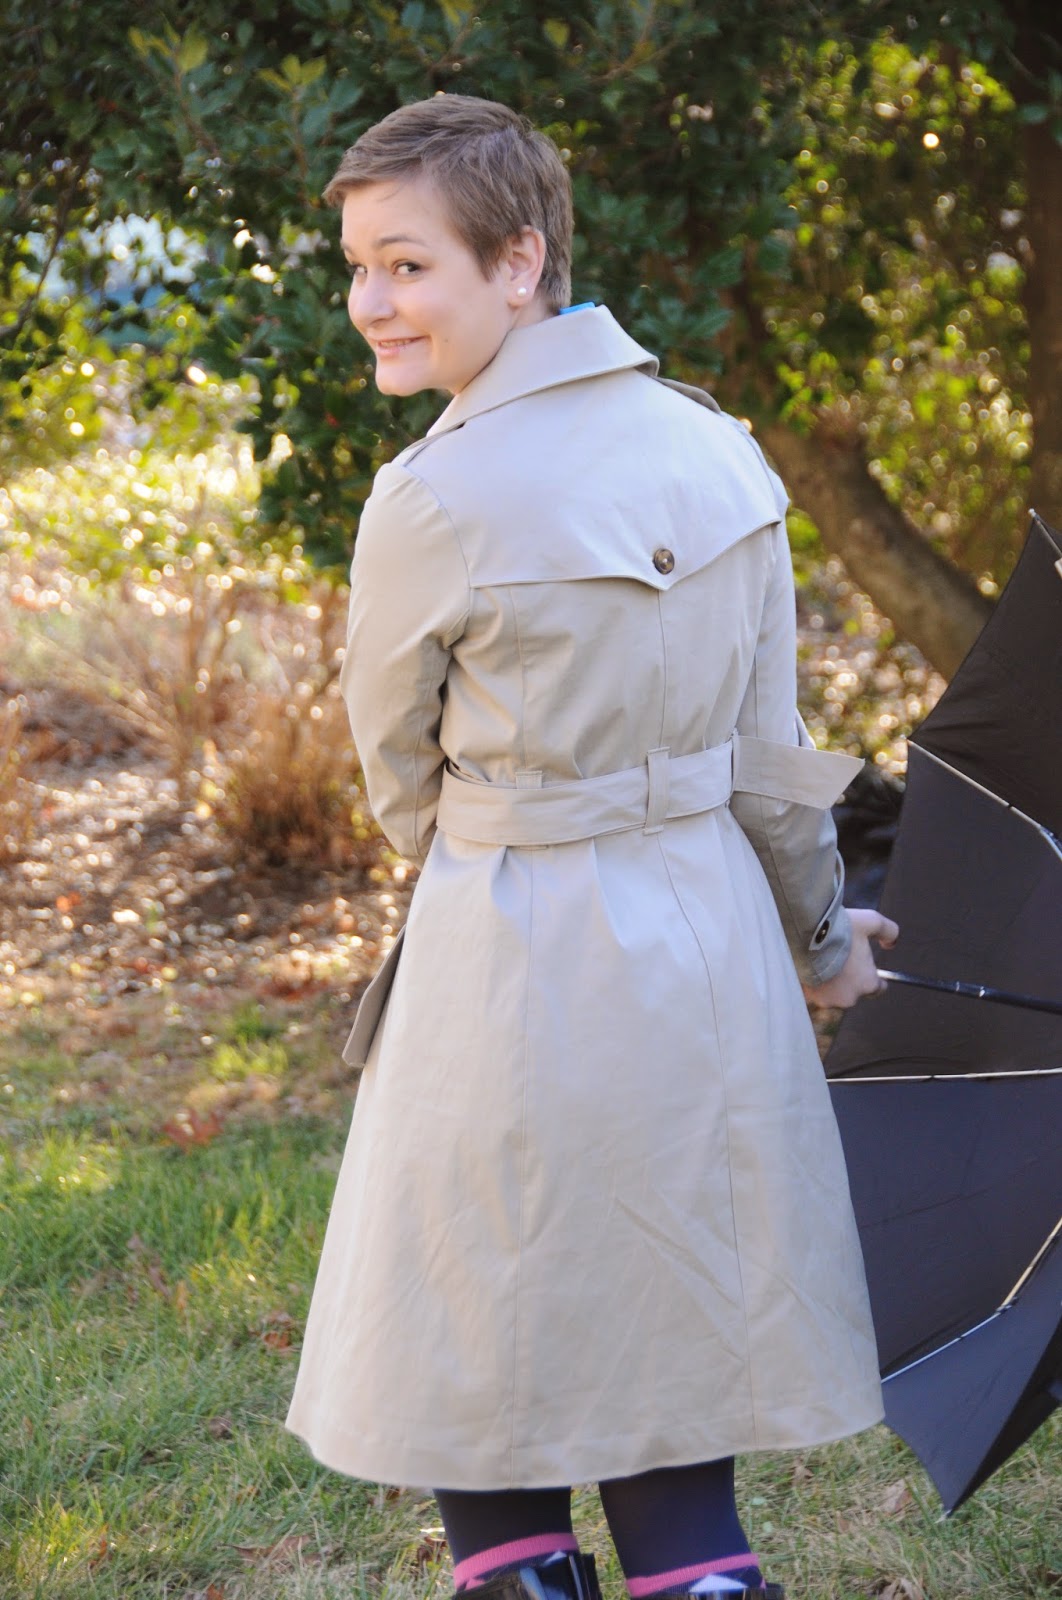
This is the Sewaholic Robson coat, made in a straight size 8 with no adjustments.

The fabric is a water-resistant cotton blend in "pumice stone" color from Mood Fabrics. The buttons also are from Mood. The buckle is from G Street Fabrics. Bias binding for the seams was purchased at my local JoAnn Fabrics.

Normally, I talk about the pattern first in blog posts, but the biggest challenge with this coat was the fabric, so I'll start there today.
The main quality that made this fabric desirable for a trench coat -- its water resistance -- made it a bear to sew. I used a heavy duty needle (several of them, actually -- more on that in a moment), and the machine really tried to make a go of it, but this pattern includes a ton of layers in some parts, such as the shoulder seam, so there was much cranking on the hand wheel to start those parts.

The fabric also tended to produce a kind of waxy dust when sewn, which I can only assume comes from the water-resistant coating.
Oddly, the fabric didn't seem to have any issues with ironing and lots of steam, although the fabric tended to trap steam, another hazard, I suppose of water-resistance. The main issue with ironing, though, was that the fabric refused to hold a crease.
The absolute biggest challenge with this coat was the buttonholes. They were a NIGHTMARE.
I had the coat all done up to the buttonhole stage, and I was feeling pretty proud of my work. I really took my time on making this coat nice. Up to the buttonholes.

The machine was just NOT having it with these buttonholes. It kept skipping half the buttonhole and making huge jumps in its stitching. I tried messing manually with the tension, with the stitch length -- with everything I could think of.
In despair, I posted a picture on Instagram and the ever-brilliant Brooke suggested that perhaps I needed a new needle. All of a sudden, my problem was fixed! I think I needed two more needles before the project was done. If I had to guess, I'd say that the coating on the fabric dulled or gummed up the needles.

It all worked out in the end, though.
Except for the part where I incorrectly placed all of the buttonholes, so there are some buttons sewn on top of buttonholes and some buttonholes that go separately through the main fabric and facing.
I think by the end, I was just exhausted. This project really took a lot out of me.

The only "change" I made to the pattern was to pick up a buckle for the belt. The buckle came from G Street and was fairly inexpensive. I just sewed it on to the end of the belt.

It doesn't exactly match the buttons, and looking at these photos, either the beltloops are uneven, or I didn't pull the coat down correctly. I'll fix it sometime. Maybe.

One of the coolest things about this pattern is the opportunity to use a fun contrast bias binding on the seams. The coat has no lining, which I appreciated, because the number of layers I had without the lining was enough for me!

I used a bright blue for a pop of color. Don't tell anyone, but there is a slightly different bright blue on the insides of the sleeves. I bought the wrong color on my third trip to JoAnn for more bias binding.
I definitely needed much more bias tape than the pattern recommended, that's for sure.

The pockets seemed oddly placed to me at first glance, but I started surreptitiously examining the trench coats on my morning commute (creeper status!) and I discovered that most trench coats have these pockets. I had ample opportunities to examine a large variety of trench coats because it seems as though they are the go-to for commuters in the fall here.

I had a bit of trouble getting the sleeve to ease nicely, but at this point, I'm just calling it a feature.

I am super proud of this project -- and glad to finally have my own trench coat -- but boy am I glad to call it finished! Do you ever have projects like that? I made a nice, simple skirt after this and it felt like a breath of fresh air!


